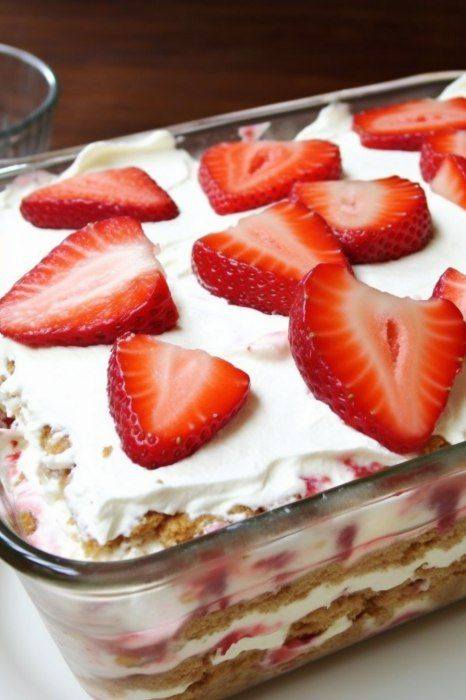
If you’re looking for a delightful dessert that’s both refreshing and easy to make, look no further than this Strawberry Cream Cheese Icebox Cake. This no-bake treat combines layers of luscious cream cheese filling, fresh strawberries, and crunchy graham crackers to create a deliciously satisfying dessert that’s perfect for any occasion.
Ingredients :
To prepare this icebox cake, you’ll need the following ingredients:
- 2 lbs of strawberries: Fresh strawberries will provide the sweet and tangy flavor that balances the creaminess of the filling.
- 2 sleeves of graham crackers: These will serve as the base and add a delightful crunch to the cake.
- 1 (8 oz) package of cream cheese: Ensure it’s at room temperature for easy mixing.
- 1 (14 oz) can of sweetened condensed milk: This will add sweetness and creaminess to the filling.
- 2 (3.4 oz) packages of instant cheesecake-flavored pudding: These will help thicken the filling and enhance the flavor.
- 3 cups of milk: Used to prepare the pudding mix.
- 1 (12 oz) carton of whipped topping: This adds lightness and a smooth texture to the filling.
Directions :
Step 1: Prepare the Strawberries
Start by washing the strawberries thoroughly. Once clean, remove the tops and slice them into 1/4-inch thick pieces. Set them aside for later use.
Step 2: Assemble the Baking Dish
Take a 3-quart (13×9 inch) baking dish and line the bottom with graham crackers. This will create the foundation of your icebox cake.
Step 3: Make the Cream Cheese Filling
In a large mixing bowl, combine the room-temperature cream cheese and the sweetened condensed milk. Using a mixer, beat the two together until the mixture is smooth and creamy.
Next, add the instant cheesecake pudding mixes and milk to the cream cheese mixture. Continue to mix on low speed for about 4 to 5 minutes, or until the mixture begins to thicken.
Once thickened, gently fold in 2 cups of the whipped topping until everything is well combined and smooth.
Instructions in the next page