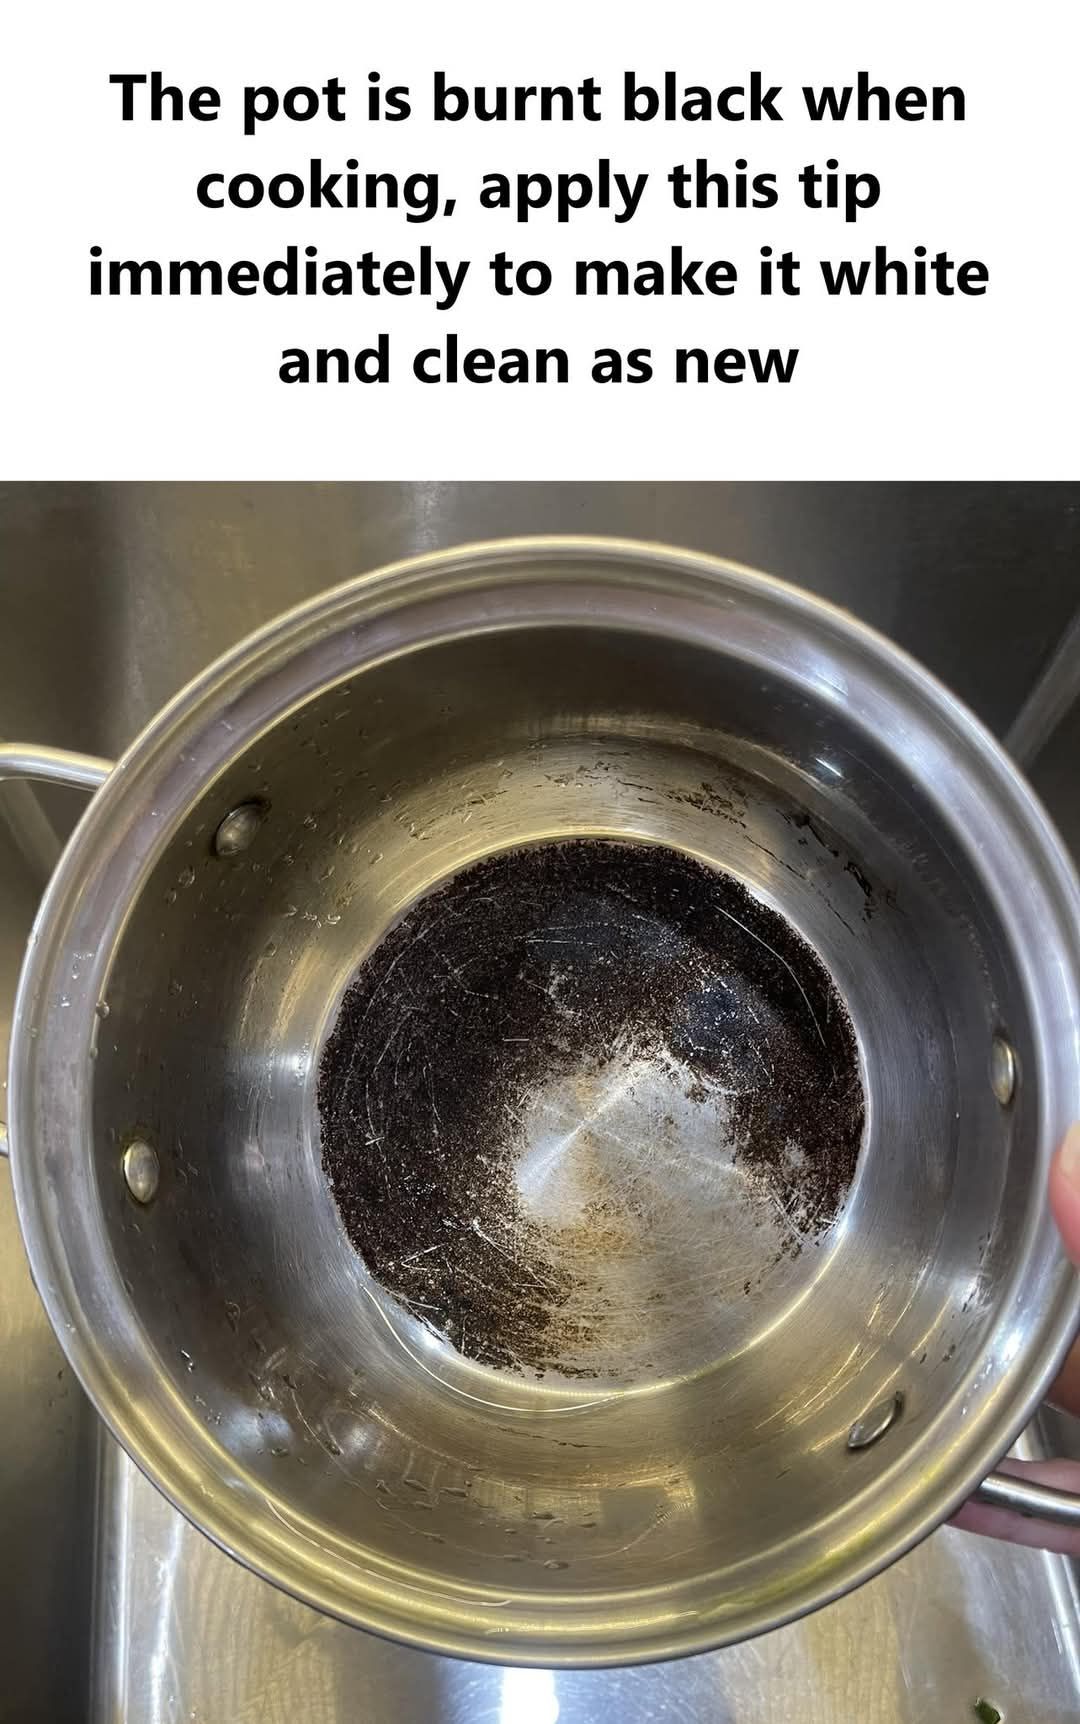
We’ve all been there—caught up in the heat of cooking, only to forget a pot on the stove, resulting in a burnt bottom and the feeling of dread when you realize the damage. Whether it’s from a little too much heat, simmering for too long, or just a kitchen mishap, burnt pots and pans are a common challenge in any home. The good news? You don’t have to throw them out or invest in expensive cleaning products. With a few simple household ingredients and a bit of patience, you can restore your burnt pot to its shiny, almost-new state.
Let’s walk you through a simple, cost-effective method to bring your pots and pans back to life, along with bonus tips for keeping them looking great for years.
1. The Classic Method: Baking Soda and Vinegar
This is an age-old trick that combines two common kitchen staples—baking soda and vinegar. Together, they create a powerful solution for tackling stubborn burnt marks and restoring the natural shine of your pots and pans.
Ingredients:
- Baking soda
- White vinegar
- Water
Instructions:
- Mix the Cleaning Solution: Start by mixing equal parts of baking soda and white vinegar. The ratio should be about 1:1. The baking soda is an excellent mild abrasive, and the vinegar’s acidic properties help dissolve the burnt residue.
- Apply the Mixture: Pour the mixture into the bottom of the burnt pot. It should cover the affected areas.
- Heat the Pot: Place the pot on the stove over low heat. Let it simmer for about 15 minutes. This gentle heating process will allow the baking soda and vinegar to react and loosen up the burnt material. Be sure to keep the heat very low to avoid any damage to the pot’s surface.
- Turn Off the Heat: After 15 minutes, remove the pot from the heat and let it cool down slightly. You will notice that the mixture has evaporated and left behind a cleaner surface.
- Add Water: Once the pot is cool enough to handle, add a small amount of cold water to the bottom of the pot. This helps loosen any remaining residue of the baking soda, making it easier to clean.
- Scrub Gently: Using a soft sponge or cloth, gently scrub the bottom of the pot. The burnt areas should come off with minimal effort. The key is to use a soft, non-abrasive sponge to avoid scratching the surface.
- Rinse and Dry: Rinse the pot thoroughly with warm water to remove any leftover residue, then dry it completely with a clean towel.
You should now see a dramatic difference in the appearance of your pot, with the burnt marks significantly reduced or completely gone. Your pot should look shiny and much cleaner.
2. The Power of Salt
Salt is another household staple that’s great for cleaning. It can act as a natural abrasive and help remove stubborn marks on pots and pans. When combined with other ingredients like vinegar or water, salt can work wonders for cleaning a burnt pot.
Ingredients:
- Salt (coarse or regular)
- Water or vinegar (optional)
Instructions:
- Sprinkle Salt: Generously sprinkle salt on the burnt areas of the pot. The coarser the salt, the better it will work to scrub away the burnt residue.
- Add Liquid (Optional): If you want to make the cleaning process even more effective, you can add a small amount of vinegar or water to create a paste. The vinegar will also help dissolve grease and grime.
- Scrub the Pot: Using a soft sponge or scrub brush, gently rub the salt into the burnt areas. The salt will help lift the stubborn stains and marks, leaving your pot cleaner and shinier.
- Rinse and Dry: After scrubbing, rinse the pot thoroughly and dry it completely with a towel.
This method is especially useful for lighter burns and can be a quick way to get your pots looking new again.
3. The Baking Soda Paste
If your pot has particularly stubborn burnt marks, using baking soda in paste form can be very effective. Baking soda’s mild abrasiveness makes it perfect for scrubbing away grease and burnt food without damaging your cookware.
Ingredients:
- Baking soda
- Water
Instructions:
- Make a Paste: Mix baking soda with a small amount of water to form a thick paste. You want the paste to be thick enough to stay on the burnt areas without dripping off.
- Apply the Paste: Spread the paste generously over the burnt spots on your pot. Be sure to cover the entire area affected by the burn.
- Let it Sit: Allow the paste to sit on the pot for 15-20 minutes. This gives the baking soda time to work and loosen up the burnt residue.
- Scrub: Using a soft sponge or non-abrasive scrub brush, scrub the burnt areas. The paste should work to lift the burnt marks.
- Rinse and Dry: Rinse the pot with warm water to remove the paste and any remaining burnt material. Dry the pot thoroughly.
4. The Aluminum Foil Trick
If you don’t have a sponge on hand, aluminum foil can also be used to remove tough burnt spots. The foil acts as a scrubber and helps to dislodge stuck particles without scratching the surface.
Ingredients:
- Aluminum foil
- Baking soda or dish soap
Instructions:
- Prepare the Pot: If you have a particularly stubborn burnt spot, you can add a bit of baking soda to the affected area. Baking soda helps to loosen the burn marks.
- Scrub with Aluminum Foil: Take a piece of aluminum foil and crumple it into a ball. Gently rub the foil on the burnt areas. The foil’s texture will provide enough friction to help lift the burnt food without scratching the surface of the pot.
- Rinse and Dry: Once you’ve scrubbed away the burnt areas, rinse the pot with warm water and dry it completely.
5. The Commercial Cleaners
While homemade methods are great, sometimes, for really tough stains, a commercial cleaner designed for cookware can help. These cleaners are formulated to break down tough grease and burnt food, restoring the shine and condition of your pots and pans.
Instructions:
- Apply the Cleaner: Follow the instructions on the commercial cleaner. Most cleaners require you to apply a small amount to the burnt areas and let it sit for a few minutes.
- Scrub and Rinse: After the cleaner has had time to work, scrub with a sponge or brush, then rinse thoroughly.
Bonus Tips for Maintaining Your Pots and Pans
Now that you know how to restore a burnt pot, here are some tips to keep your cookware in tip-top condition:
1. Regular Cleaning: Always clean your pots and pans after each use. A quick scrub with warm water and mild soap can prevent the buildup of grease and food residue.
2. Use Non-Abrasive Sponges: To avoid scratching the surface of your pots, use non-abrasive sponges. Steel wool or harsh scrubbers can leave marks and damage the finish.
3. Season Cast Iron: If you have cast iron pots or pans, make sure to season them regularly. A thin layer of vegetable oil helps to protect the surface from rust and creates a non-stick layer, making cooking and cleaning much easier.
4. Avoid High Heat: For non-stick and stainless-steel pots, avoid cooking on high heat, as it can damage the cookware and cause the food to burn more easily.
5. Dry Immediately: After washing, dry your pots and pans immediately to prevent water spots and rusting.
6. Store Properly: Store your pots and pans in a dry, cool area. Hanging them up or using pot protectors can help prevent scratching and keep them in good condition.
Conclusion
Burnt pots and pans are a part of cooking that most of us experience at some point. Fortunately, with a little time and effort, you can restore your cookware to its former glory using simple and natural methods like baking soda, vinegar, and salt. Regular maintenance and gentle cleaning will ensure that your pots and pans continue to shine like new and remain in excellent condition for years to come. Whether you choose the baking soda method, salt trick, or use commercial cleaners, keeping your kitchen tools in great shape is a rewarding effort that will pay off every time you cook.


