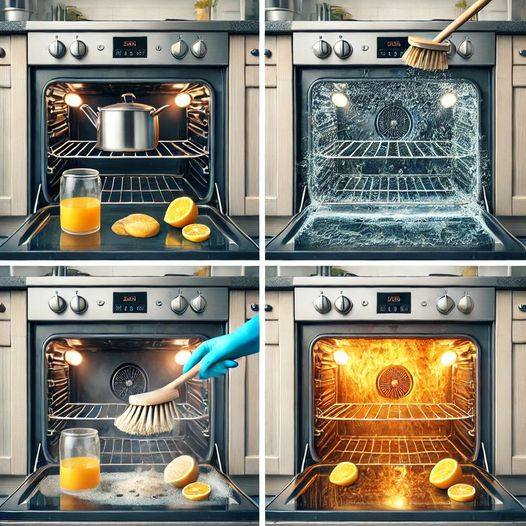
Cleaning your oven may seem like a daunting task, but with the right approach, it can be quick, simple, and effective. Many people often rely on harsh chemical cleaners to tackle the stubborn grease, grime, and baked-on food that accumulates inside the oven. However, these commercial products can contain harmful chemicals that may pose health risks or leave lingering fumes in your kitchen. Fortunately, there is an easier, healthier, and eco-friendly alternative that requires just two common ingredients: vinegar and baking soda.
This method is not only safe and natural, but it also takes less time and effort than you might expect. By following these straightforward steps, you can achieve a sparkling clean oven that looks brand new. Read on to discover how to clean your oven in minutes and make it shine like never before!
Step 1: Remove Everything from the Oven
Before you begin cleaning, start by removing all the trays, racks, and other accessories from the oven. This will give you unobstructed access to the oven’s interior, making the cleaning process much more efficient. Place the racks in your sink or bathtub if you plan to clean them as well. If your oven has a removable drip tray or other small parts, take those out as well. You can clean these items separately, as they might need a bit of extra attention.
Once the oven is empty, you can focus on cleaning its interior.
Step 2: Create a Baking Soda Paste
Baking soda is a versatile and natural cleaner that works wonders on stubborn stains and grease. It is mildly abrasive, so it can lift grime without scratching delicate surfaces. To start, mix a few tablespoons of baking soda with water in a small container. Stir until the mixture forms a spreadable paste that’s not too thick or too runny. Aim for a consistency that will stick to the walls, floor, and ceiling of the oven without dripping off.
You’ll need enough of the paste to cover all the dirty areas inside the oven, so adjust the quantity of baking soda as needed based on the size of your oven. Once the paste is ready, you’re all set to move on to the next step.
Step 3: Apply the Baking Soda Paste
Now it’s time to apply the baking soda paste to the oven. Using a spatula or a clean cloth, spread the paste evenly over all the surfaces inside the oven, including the oven floor, walls, and ceiling. Make sure you cover every spot with the paste, especially areas where grease or food residue is most visible. Focus on any particularly stained areas, but don’t forget to coat the entire oven, as this will ensure a thorough clean.
For particularly dirty ovens, you can apply an extra layer of the baking soda paste to help break down the grime. Be sure to avoid applying the paste on the oven’s heating elements, as this could cause issues when you turn the oven on later.
Once the entire oven is coated with the baking soda paste, it’s time to let the mixture work its magic.
Step 4: Let It Sit Overnight
The key to a successful oven cleaning session is patience. Once you’ve applied the baking soda paste, allow it to sit for at least 12 hours, or ideally overnight. This extended period gives the baking soda enough time to break down the grease and grime, softening them so that they can be wiped away easily. The baking soda reacts with the built-up dirt and helps lift it off the oven’s surfaces.
While the paste is working, you can take care of other tasks around the house. If you’re cleaning your oven as part of a larger deep-cleaning effort, this waiting period will give you time to focus on other areas, making the most of your time.
Step 5: Wipe Down the Oven
After letting the baking soda paste sit for 12 hours, it’s time to start the cleanup process. You’ll notice that the grime has loosened, and the baking soda paste may have hardened a bit. Using a damp cloth or sponge, gently wipe down the interior of the oven. The paste should come off relatively easily, taking the grease and stains with it.
For areas with stubborn grime, you can apply a little extra pressure or use a non-abrasive scrub brush to gently scrub away the dirt. Be sure to wipe all surfaces, including the corners and crevices, to ensure no residue is left behind.
At this point, you’ll be able to see a significant difference. The oven should look much cleaner, and most of the dirt will have been wiped away.
Step 6: Use Vinegar for Final Cleaning
After wiping down the oven, there may still be some leftover baking soda residue on the surfaces. This is where the vinegar comes in. Vinegar is a natural disinfectant and cleaning agent that, when combined with baking soda, creates a fizzy reaction that helps lift any remaining grime.
Fill a spray bottle with white vinegar and spray it all over the oven’s interior, concentrating on areas where the baking soda residue is still visible. You’ll notice the vinegar reacting with the baking soda, producing foam and bubbles. This fizzing action helps lift any remaining dirt and cleans the surfaces even more effectively.
Let the vinegar sit for a minute or two, then wipe it down with a clean, damp cloth. Continue wiping until all vinegar and baking soda residue is gone. Be thorough to ensure no leftover cleaning solution remains inside the oven.
Step 7: Rinse and Dry
After you’ve sprayed the vinegar and wiped down the surfaces, it’s time for a final rinse. Use a clean, damp cloth to wipe down the oven one more time, ensuring that all cleaning solutions and residue are completely removed.
Once you’ve rinsed the oven, use a dry cloth to wipe away any remaining moisture. This will help prevent streaks and ensure that the oven is completely dry and ready for use.
Step 8: Final Heating (Optional)
As a final step, you can turn on the oven at a low temperature (around 200°F or 90°C) for about 10 minutes. This will help “burn off” any remaining residue and leave the oven smelling fresh and clean. It also ensures that no lingering vinegar or baking soda remains to affect the taste of food during cooking.
Let the oven cool down after this final step before replacing the trays and racks.
Why This Method Works
The combination of baking soda and vinegar works so well because of their natural cleaning properties. Baking soda is a mild alkali that helps dissolve grease and lift grime from surfaces. It also neutralizes odors, leaving your oven smelling fresh. Vinegar, on the other hand, is a natural acid that helps break down mineral deposits and residue, and when combined with baking soda, it creates a powerful cleaning solution that lifts even the toughest stains.
This method is not only effective, but it’s also safe for your health. Unlike chemical oven cleaners that can emit harsh fumes and contain toxic ingredients, baking soda and vinegar are completely non-toxic, making them a much safer choice for your home.
The Benefits of Cleaning Your Oven Naturally
- Healthier Environment: By using natural ingredients, you eliminate the risks associated with harsh chemicals, such as skin irritation, respiratory problems, or poisoning.
- Eco-Friendly: Both baking soda and vinegar are environmentally friendly, biodegradable, and safe to dispose of. This makes them a better choice for those looking to reduce their environmental footprint.
- Cost-Effective: You don’t need to buy expensive commercial cleaners. Baking soda and vinegar are inexpensive and can be found in most homes.
- Easy to Use: With just two ingredients and a few simple steps, you can clean your oven without the need for elaborate tools or equipment.
Conclusion
Cleaning your oven doesn’t have to be a dreaded task. With this simple and natural method using baking soda and vinegar, you can achieve a spotless, sparkling oven without the need for harsh chemicals or hours of scrubbing. Not only is it effective, but it’s also safer for your health and the environment. So next time your oven needs a deep clean, skip the chemical cleaners and try this eco-friendly method instead. You’ll be amazed at how easy it is to restore your oven to its former glory!


