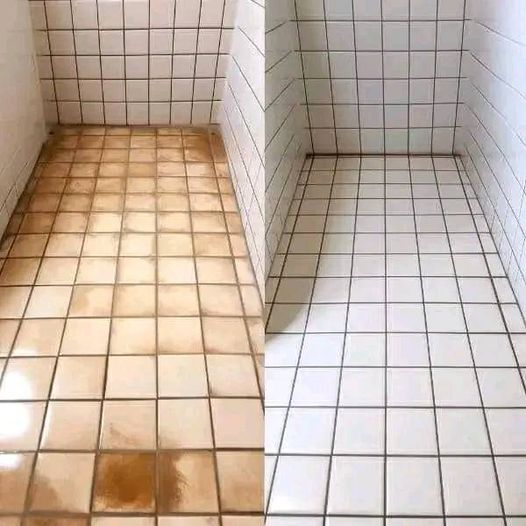
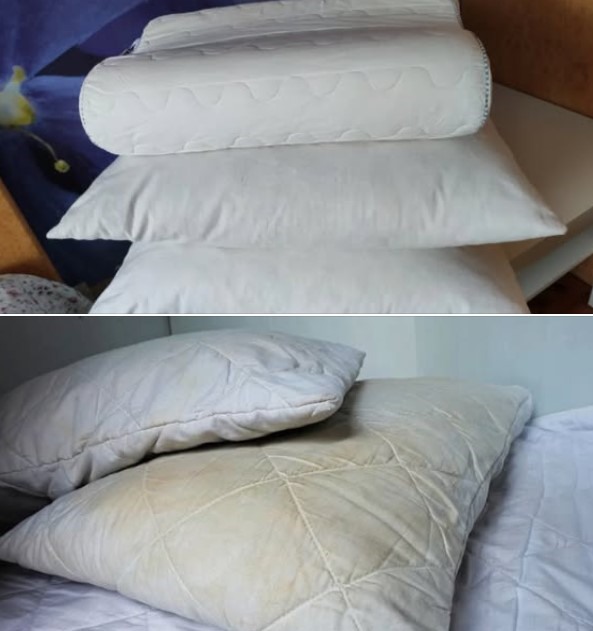
Over time, tiles in kitchens, bathrooms, or even living spaces can lose their shine. Excess moisture, spills, and daily wear can cause dirt to accumulate, and grout lines can darken. While commercial cleaners are an option, they often contain harsh chemicals that may damage tiles or harm the environment. Luckily, natural household products—like baking soda—can make your tiles and grout look spotless without the chemical overload. Here’s a detailed guide on how to clean and maintain your tiles naturally.
🧽 Why Baking Soda Works on Tiles and Grout
Baking soda, or sodium bicarbonate, is mildly abrasive and slightly alkaline. This combination makes it ideal for cleaning:
- Removes Stains: Its gentle abrasiveness helps scrub away dirt without scratching tile surfaces.
- Neutralizes Odors: Baking soda absorbs lingering odors from damp areas.
- Environmentally Friendly: Non-toxic and biodegradable, it’s safe for both your home and the planet.
- Versatile: Works on ceramic, porcelain, stone, and even cement tiles.
🛠 What You’ll Need
- Baking soda
- White vinegar (optional for extra cleaning power)
- Warm water
- An old toothbrush or small scrubbing brush
- Microfiber cloth or sponge
- Spray bottle
Step-by-Step Guide to Cleaning Tiles and Grout
Step 1: Prepare a Baking Soda Paste
Mix baking soda with a small amount of water to create a thick paste. The paste should be spreadable but not too runny—think peanut butter consistency.
Tip: For extra whitening, you can add a few drops of lemon juice, which has natural bleaching properties.
Step 2: Apply the Paste to Grout Lines
Next page


