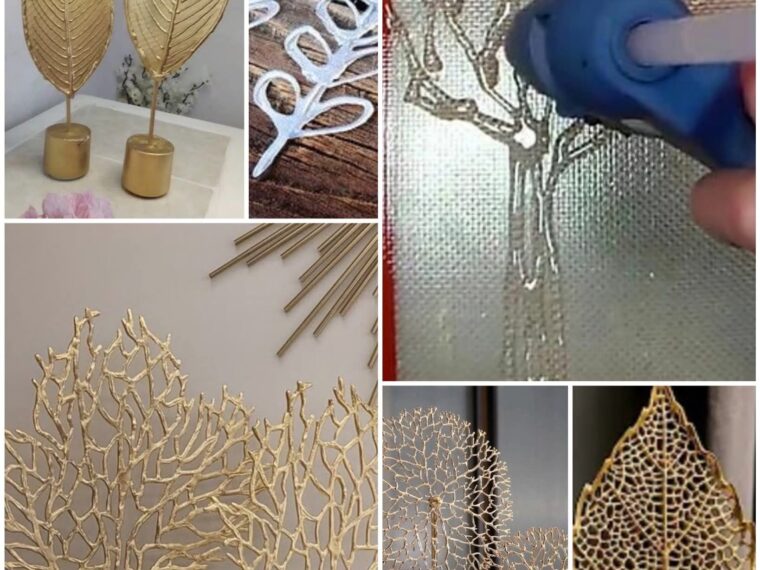
If you love creating unique and easy decorations with materials you already have at home, here’s a fun and original idea: decorative leaves made with hot glue. These leaves are perfect for centerpieces, shelves, walls, or even small versions for junk journals and autumn crafts. The best part? The process is simple, requires no special molds, and uses inexpensive materials. All you need is some hot glue, spray paint, and creativity!
Materials Needed
- Hot glue gun
- Glue sticks
- Parchment paper, wax paper, or any non-stick surface (the back of contact paper also works)
- Wooden sticks or small dry twigs (from trees, skewers, or long toothpicks)
- Spray paint (any color of your choice)
- Newspaper to protect your workspace
Step-by-Step Instructions
1. Prepare Your Workspace
Place parchment paper or a non-stick base on your table. This ensures the leaf can be easily removed once the glue cools.
Tip: Use tape to secure the paper so it doesn’t move while you work.
2. Position the Stick or Twig
Lay your stick horizontally or diagonally on the paper. This will act as the central vein of the leaf, mimicking the midrib of a natural leaf.
3. Draw the Leaf with Hot Glue
With the glue gun heated, start tracing lines outward from the stick to form the leaf veins. You can create:
- Elongated leaves
- Round leaves
- Heart-shaped leaves
- Abstract designs
Connect the lines so the structure is sturdy. Imperfections are welcome—they add a handmade, artisanal charm.
Optional: Trace a leaf shape on cardstock first, place the stick on it, and then follow the lines with glue. The cardstock can remain attached if desired.
4. Let the Glue Cool
Next page