Baking your own bread at home is a rewarding experience that fills your house with the irresistible aroma of freshly baked goods. However, the thought of kneading dough, waiting for it to rise, and the overall complexity of traditional bread recipes can often be daunting, especially for beginners. The good news is, you can skip all of that with this simple no-knead bread recipe, which requires minimal effort, making it the perfect choice for those new to baking. In fact, this recipe allows you to enjoy the taste and texture of a bakery-style loaf without the time-consuming work. The long fermentation process develops deep, rich flavors, and the result is a bread with a soft, airy interior and a perfectly crispy, golden-brown crust.
Whether you’re baking for the first time, short on time, or just want to enjoy a rustic, homemade loaf, this easy no-knead bread is a great place to start. In just a few hours, you can have a loaf of bread that’s perfect for sandwiches, soups, or simply enjoying with a dollop of butter. The best part? You don’t need to be an expert baker to make it! Keep reading to learn how to make this incredible, hassle-free bread.
Why You’ll Love This No-Knead Bread Recipe
- Minimal Effort
Unlike traditional bread recipes that require kneading and multiple rises, this no-knead bread is incredibly simple. You mix the ingredients, let them rest for several hours, and then bake! There’s no heavy lifting or vigorous kneading involved, making it perfect for beginners. - Healthier Option
Store-bought bread often contains preservatives, artificial flavors, and additives. This no-knead bread is made with natural ingredients and is free from any preservatives. For an even healthier version, you can customize the bread by adding whole grains, seeds, or herbs to boost its nutritional value. - Versatile
This recipe is a blank canvas, allowing you to customize it to suit your personal taste and dietary needs. Want a savory loaf? Try adding minced garlic or fresh rosemary. Want some texture and extra nutrients? Add sunflower seeds or oats. The possibilities are endless! - Rustic and Bakery-Style
The long fermentation process gives the bread a slightly tangy flavor, which is one of the hallmarks of artisan-style bread. The crust is thick and golden, while the interior remains soft and chewy—just like the bread you’d find in your favorite bakery. - Perfect for Any Occasion
Whether you need a loaf for breakfast toast, a side for your soup, or bread for a sandwich, this no-knead bread will be the perfect addition to your meals. It’s a versatile, crowd-pleasing bread that you can make for any occasion.
Ingredients for No-Knead Bread
The ingredients for this simple recipe are basic, and most likely, you already have them in your pantry. Here’s what you’ll need:
- 3 cups all-purpose or bread flour
All-purpose flour is perfect for this recipe, but you can use bread flour if you want a slightly chewier loaf with a better rise. - 1/4 teaspoon instant yeast
Instant yeast works best for this recipe because it can be mixed directly into the flour without needing to be dissolved in water. - 1 ½ teaspoons salt
Salt is essential for flavor and helps control the fermentation process. If you prefer a more mild flavor, you can slightly reduce the amount of salt, but it’s best to keep it close to the recommended measurement. - 1 ½ cups room-temperature water
Room-temperature water is ideal for activating the yeast without shocking it. Cold water can slow down fermentation, while hot water can kill the yeast. If your water is too hot or cold, it may interfere with the rise. - Optional Add-ins
If you want to add more flavor or texture to your bread, consider mixing in seeds (such as chia or flax), minced garlic, or fresh herbs like rosemary or thyme. You can also fold in some dried fruit or chopped nuts for a unique twist.
Step-by-Step Guide to No-Knead Bread
Step 1: Combine the Dry Ingredients
In a large mixing bowl, combine the flour, instant yeast, and salt. Stir the dry ingredients together until they’re evenly distributed. This is the foundation of your dough, so it’s essential to mix the dry ingredients well to ensure the yeast is evenly spread throughout the flour.
Step 2: Add Water and Mix
Pour the water into the bowl with the dry ingredients. Using a wooden spoon or spatula, stir until a sticky dough forms. Don’t worry if the dough seems a little lumpy or rough; there’s no need to overmix. The dough should be shaggy and slightly sticky—this is perfectly normal, and it will come together during the long fermentation.
At this point, if you’re adding any optional ingredients like seeds or garlic, you can stir them in along with the water. Mix them in gently until evenly incorporated into the dough.
Step 3: Cover and Let the Dough Rise
Once the dough is mixed, cover the bowl with plastic wrap or a clean kitchen towel. Let it rise at room temperature for 12 to 18 hours. The long fermentation time is key to developing flavor and texture. During this period, the dough will rise and ferment, becoming more flavorful and bubbly.
You’ll know the dough is ready when you see bubbles on the surface, which is a sign that the yeast is working its magic. The dough should have increased in size, though it may not double in volume. Don’t worry if it looks a little uneven—this is part of the rustic appeal of no-knead bread.
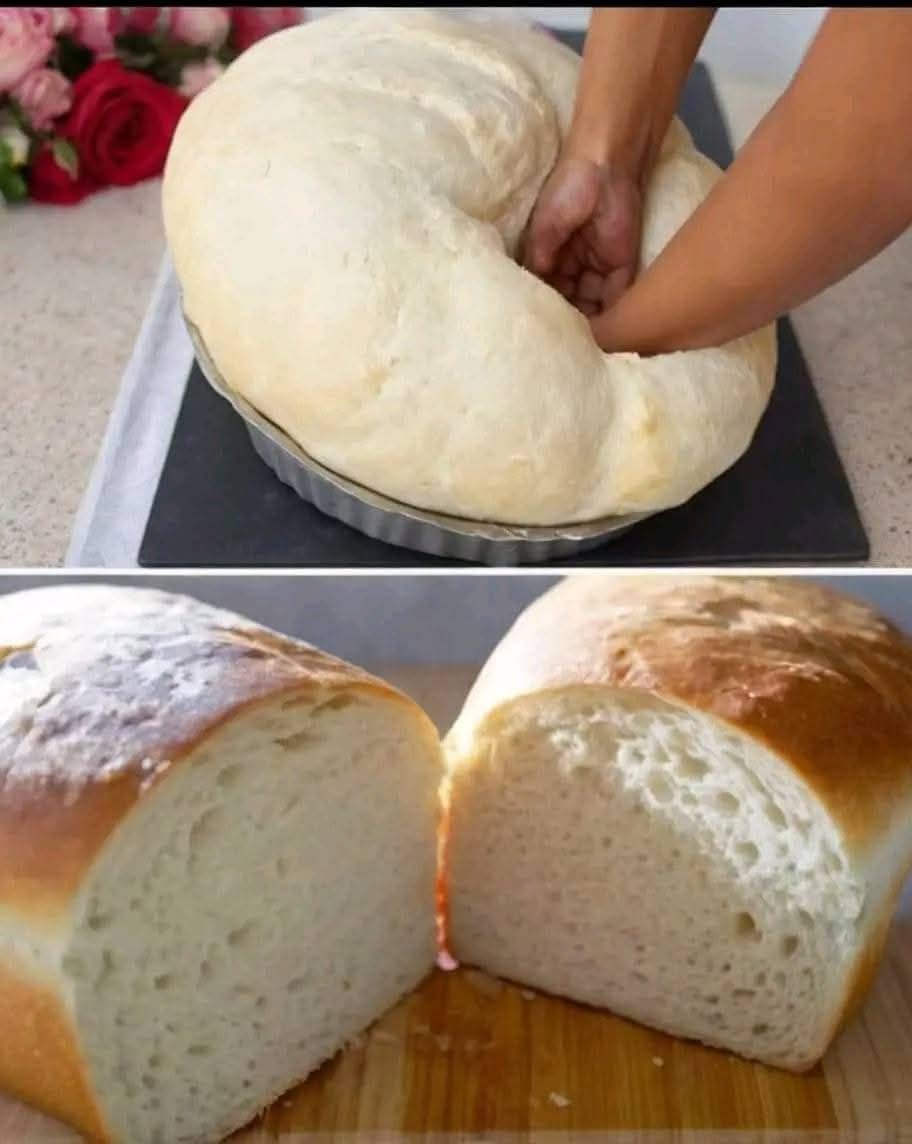
Step 4: Shape the Dough
Once the dough has finished fermenting, it’s time to shape it. Sprinkle a clean surface lightly with flour to prevent sticking, and also dust your hands with flour. Gently turn the dough out onto the floured surface. You don’t need to knead it; simply fold it over a few times to shape it into a rough round. The dough will still be a bit sticky, but it should hold together well enough to form a shape.
You don’t need to worry about getting a perfect loaf—this is rustic bread, after all! The goal is just to give the dough some structure before baking. Once shaped, let it rest for about 15-30 minutes to allow the gluten to relax before baking.
Step 5: Preheat the Oven and Dutch Oven
Now, it’s time to get ready for baking. Preheat your oven to 450°F (230°C). While the oven is heating, place a Dutch oven (or any heavy pot with a lid) into the oven to preheat as well. Allow the Dutch oven to heat up for 30 minutes. The hot Dutch oven will help create a steamy environment for the bread to rise in, which results in a perfect crispy crust and soft, chewy interior.
If you don’t have a Dutch oven, you can use any heavy, oven-safe pot with a lid, such as a cast-iron pot or a ceramic baking dish. The key is to have a pot with a tight-fitting lid to trap moisture and heat during baking.
Step 6: Bake the Bread
While the Dutch oven is preheating, line a piece of parchment paper on a clean surface. Gently transfer your shaped dough onto the parchment paper. Using the parchment paper makes it easier to lift and transfer the dough into the hot pot without deflating it.
Once the Dutch oven has finished preheating, carefully remove it from the oven and remove the lid. Using the parchment paper, carefully transfer the dough into the hot Dutch oven. Cover the pot with the lid and return it to the oven. Bake for 30 minutes.
Step 7: Uncover and Finish Baking
After 30 minutes, carefully remove the lid from the Dutch oven. At this point, the bread will have risen and started to develop a golden-brown crust. Continue baking the bread for an additional 15-20 minutes without the lid until the crust becomes deep golden brown and crispy.
The longer you bake it, the crustier it will be. If you prefer a softer crust, you can bake it for a slightly shorter time. Keep an eye on the bread to ensure it doesn’t burn, but allow the crust to get crispy and golden.
Step 8: Cool and Serve
Once the bread is baked to your desired color, remove it from the oven and transfer it to a wire rack to cool. Let the bread cool completely before slicing to allow the interior to set. Cutting into hot bread can result in a gummy texture, so it’s best to let it rest for at least 30 minutes before serving.
The result will be a gorgeous, rustic loaf with a thick, crispy crust and a soft, airy interior. It’s perfect for slicing and serving with butter, making into sandwiches, or dipping into your favorite soup.
Tips for Perfect No-Knead Bread
- Use a kitchen scale for accuracy: If you have one, a kitchen scale will help you measure your ingredients more precisely. It ensures consistent results every time.
- Add your favorite flavors: This no-knead bread is extremely versatile. You can fold in herbs, roasted garlic, or even olives to make it your own.
- Let it cool completely: This may seem like a no-brainer, but it’s crucial to let the bread cool before cutting into it. Otherwise, the crumb may be too dense, and you won’t get the perfect texture.
- Storing the bread: No-knead bread is best eaten fresh, but if you need to store it, wrap it in a clean kitchen towel or store it in a paper bag. Avoid storing it in plastic, as this can make the crust lose its crispiness.
- Make ahead: You can easily prepare the dough the night before and bake it the next day. Simply follow the same steps and allow the dough to ferment for 12-18 hours.
Conclusion
This no-knead bread recipe is a game-changer for beginners and busy bakers alike. It’s incredibly easy to make, requires minimal hands-on time, and results in a gorgeous, rustic loaf that’s perfect for any meal. With just a few simple ingredients, you can create a bread that rivals those from your local bakery. Whether you’re enjoying it with butter for breakfast, using it to make a sandwich, or dipping it into a bowl of soup, this bread will quickly become a favorite in your kitchen. Try it today and enjoy the simple pleasure of homemade bread!