The cleanliness of our home is often reflected in the condition of our floors. Whether it’s a kitchen bustling with activity, a living room filled with guests, or even a hallway where children and pets constantly pass through, floors bear the brunt of everyday life. As a result, keeping them clean can be a challenge. Yet, there’s something magical about a clean and shiny floor that instantly elevates the aesthetic of any room. It brings a sense of freshness, warmth, and tidiness that adds to the overall ambiance of a home.
This is why I’ve come to appreciate a floor cleaner recipe passed down from my nana, which she swears by. Her floors were always immaculate, sparkling with an inviting shine, and it’s a testament to the power of her homemade cleaning solution. For years, I’ve watched her carefully apply this heavy-duty floor cleaner, and I’ve never seen her floors look anything less than perfect. My nana’s tried-and-true cleaner was always her go-to, and it worked wonders for every type of flooring in her home, from tile to hardwood, even vinyl.
So, if you’re tired of using commercial cleaners that are filled with chemicals or don’t live up to your expectations, you’ve come to the right place. My nana’s homemade floor cleaner is simple to make, inexpensive, and incredibly effective. In this article, I’ll walk you through everything you need to know about making this floor cleaner, why it works so well, and why it’s a must-try for every household. Let’s dive in and uncover the secret to those gleaming floors!
Why Homemade Floor Cleaners Are the Best Option
Before diving into the recipe, let’s discuss why using a homemade floor cleaner is such a great choice. First, store-bought cleaners often contain chemicals that can be harsh on both your floors and your health. These chemicals may not only leave behind toxic residues but can also contribute to indoor air pollution. Many people are allergic to the harsh fumes that come from these cleaners, and over time, they can wear down your floors or cause them to lose their natural sheen.
By making your own floor cleaner, you get to control the ingredients. You can ensure they’re non-toxic, gentle on your floors, and safe for your family and pets. This also cuts down on plastic waste, as you can use refillable bottles instead of purchasing single-use products.
Plus, making your own cleaner is incredibly budget-friendly. Instead of spending money on expensive commercial floor cleaners that may or may not deliver the results you want, you can make a large batch of homemade cleaner for a fraction of the cost. It’s easy, cost-effective, and sustainable.
What Makes Nana’s Cleaner So Effective?
So, what’s the secret behind my nana’s legendary floor cleaner? It’s the combination of ingredients that work in perfect harmony to clean, disinfect, and restore the shine to your floors. Each ingredient in this recipe has a purpose:
- White Vinegar: Vinegar is a powerhouse when it comes to cleaning. It’s acidic, which helps to break down grime and dirt without damaging your floors. Additionally, vinegar is a natural disinfectant, which means it helps eliminate bacteria and germs, leaving your floors not only clean but hygienic. It also helps to cut through grease, making it particularly effective in kitchens.
- Baking Soda: This common household item is known for its ability to neutralize odors and act as a mild abrasive. In the case of cleaning floors, baking soda helps lift tough stains and grime from the surface, leaving the floors sparkling clean without scratching them. It also helps to balance the acidity of the vinegar, making the cleaner less harsh.
- Dish Soap: Dish soap is designed to break down grease, which makes it perfect for floor cleaning, especially in high-traffic areas like the kitchen. It helps emulsify oils and grease, making them easier to mop up and leaving floors squeaky clean.
- Essential Oils (Optional): While not necessary, a few drops of essential oils can add a lovely scent to your cleaner. Essential oils like lavender, lemon, or tea tree oil can also provide extra antibacterial properties and create a pleasant aroma in your home. The natural fragrance will linger in the air and add a refreshing note to your cleaning routine.
The synergy of these ingredients is what makes this floor cleaner so effective. The best part? You’re using ingredients that are already in your kitchen or easily available at the store. Plus, it’s a cleaner that works for a variety of floor types—tile, hardwood, laminate, vinyl, and more!
The Simple Ingredients You’ll Need:
Here’s what you’ll need to make my nana’s famous heavy-duty floor cleaner:
- 1 gallon of warm water
- 1 cup of white vinegar
- ½ cup of baking soda
- 1 tablespoon of dish soap
- Optional: A few drops of essential oil (like lemon, tea tree, or lavender) for fragrance
Steps to Make the Cleaner:
Making the cleaner is quick and easy! Just follow these simple steps, and you’ll have a fresh batch of homemade cleaner ready to go:
1. Fill a Bucket with Warm Water
Start by filling a bucket with 1 gallon of warm water. Warm water helps dissolve the baking soda and dish soap more easily, making sure all the ingredients blend together smoothly.
2. Add 1 Cup of White Vinegar
Next, pour in 1 cup of white vinegar. Vinegar is a natural cleaner and disinfectant, which will help break down grime and sanitize your floors. If you’re cleaning a larger surface or especially dirty floors, you can add a little more vinegar.
3. Add ½ Cup of Baking Soda
Add ½ cup of baking soda to the mixture. Baking soda is an excellent mild abrasive that helps lift dirt and stains. It also works wonders at neutralizing any odors in your home, leaving your floors smelling fresh.
4. Stir in 1 Tablespoon of Dish Soap
Dish soap is an essential ingredient for cutting through grease and sticky messes. Stir in 1 tablespoon of dish soap. This will help break down tough dirt and grime on your floors, especially in areas like kitchens or entryways.
5. Optional: Add Essential Oils
If you’d like your floor cleaner to have a pleasant scent, add a few drops of essential oils. Choose an oil with natural antibacterial properties (like tea tree oil or lemon oil) or something calming, such as lavender. Essential oils also help enhance the cleaner’s effectiveness and leave your home smelling amazing.
6. Mix Thoroughly
Stir all the ingredients together until everything is well mixed. You should see a slight fizz from the baking soda reacting with the vinegar, which means your cleaner is ready to go.
7. Mop Your Floors
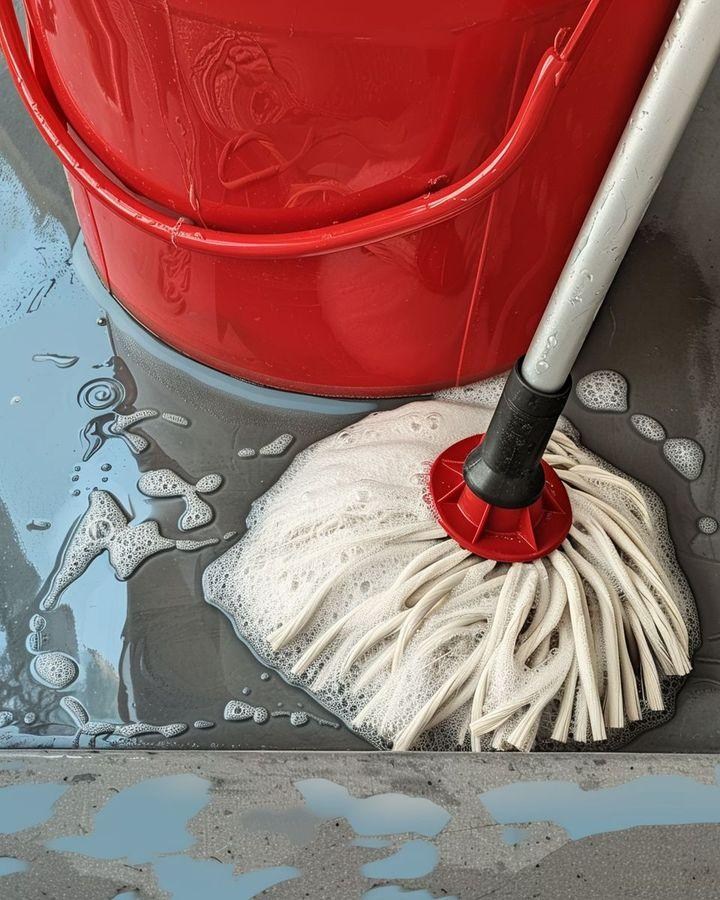
Now, it’s time to mop! Dip your mop or cloth into the cleaning solution, making sure to wring out excess liquid to avoid saturating your floors. Clean your floors in sections, starting from the farthest corner and working your way toward the exit to avoid walking on the freshly cleaned floor.
8. Allow the Mixture to Sit on Stubborn Spots
For particularly dirty areas, let the mixture sit for a few minutes to break down tough dirt or grime. This will make it easier to wipe away stubborn stains.
9. Rinse the Floors
Once you’ve mopped the entire surface, rinse the floor with clean water to remove any remaining cleaner residue. This will leave your floors shiny and residue-free.
Tips for Best Results:
- Don’t Over-Saturate the Floors: When mopping, make sure to wring out the mop so it’s damp, not soaking wet. Too much water can damage certain types of floors, like wood or laminate.
- Use a Microfiber Mop: A microfiber mop will work best for picking up dirt without pushing it around. It also leaves less water on the floor, ensuring a quicker drying time.
- Spot Test First: If you’re using this cleaner on a new type of flooring, especially delicate materials like marble or unsealed wood, do a quick spot test to ensure it doesn’t cause damage.
The Benefits of This Homemade Cleaner:
- Non-toxic and Safe for Families: This cleaner is made from natural ingredients, making it safe for children and pets. You don’t have to worry about harmful chemicals lingering on your floors.
- Cost-Effective: Instead of buying expensive commercial cleaners, this recipe is budget-friendly and will last for multiple uses.
- Eco-Friendly: By using ingredients you likely already have at home, this cleaner helps reduce plastic waste and limits exposure to harmful chemicals.
- Versatile: This cleaner works on a variety of floors, including tile, wood, laminate, and vinyl.
Conclusion:
Now that you know how to make my nana’s legendary floor cleaner, it’s time to put it to work! After all, a sparkling floor can completely transform your space. Whether you’re preparing for the holidays, cleaning up after a family gathering, or just keeping your home tidy, this heavy-duty floor cleaner will leave your floors gleaming and smelling fresh.
Not only will you enjoy the satisfaction of cleaning your home with safe, natural ingredients, but you’ll also be channeling the wisdom of my nana—who always knew how to make her floors shine with ease. Give this recipe a try and see for yourself why my nana swears by it. Happy cleaning!

