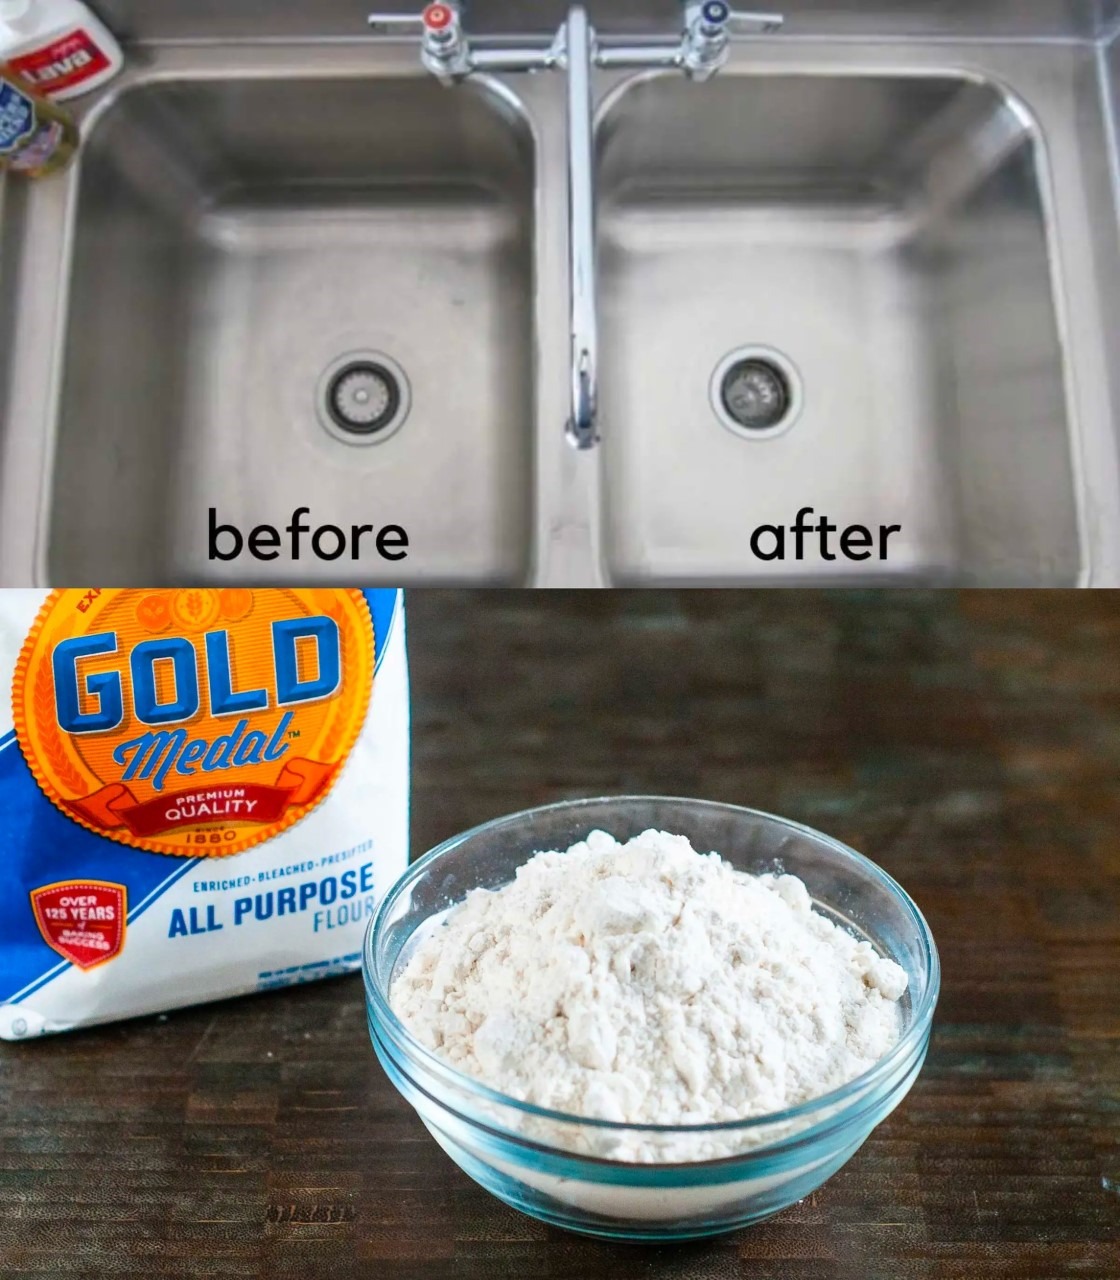
Stainless steel sinks are a popular choice for many kitchens due to their sleek, modern look and durable surface. However, with regular use, they can accumulate hard water stains, grease, fingerprints, and grime. Over time, this build-up can cause your sink to lose its once-shiny appearance. But don’t worry, achieving that bright, reflective shine is easier than you think—and all you need is a common kitchen staple: flour. This simple, natural trick can restore your stainless steel sink to its former glory without harsh chemicals or expensive cleaners.
Why Use Flour?
Flour is an often-overlooked ingredient when it comes to cleaning, but it can work wonders for stainless steel. So, why does it work so well? The answer lies in its mildly abrasive texture. Flour acts as a gentle abrasive that can buff out stains and residue without scratching the surface of your sink. This makes it a perfect cleaning agent for stainless steel, which can be easily damaged by harsh scrubbing or chemical cleaners.
When used on a stainless steel sink, flour helps remove water spots, fingerprints, and dirt while giving the surface a beautiful shine. It’s a safe, non-toxic option that doesn’t require any harsh chemicals, making it an environmentally friendly solution for those looking to clean their kitchen the natural way.
Steps to Shine Your Sink with Flour
Now that you understand why flour is so effective, let’s go over the steps to get your sink shining like new.
1. Wash the Sink
Before you begin, start by cleaning your sink with hot, soapy water. This will help remove any grease, food residue, or other debris that may be stuck to the surface. Simply fill the sink with warm water, add a few drops of dish soap, and use a sponge or cloth to scrub the entire surface. Be sure to pay special attention to the corners and edges, where grime can accumulate.
Once you’ve thoroughly cleaned the sink, rinse it with warm water to remove all the soap. After rinsing, use a soft cloth or towel to dry the sink completely. It’s important to start with a dry surface, as moisture can dilute the flour and make it harder to buff.
2. Rinse and Dry the Sink
After washing the sink, be sure to rinse it thoroughly with clean water. The last thing you want is soap residue remaining on the sink’s surface, as it can interfere with the flour buffing process. Dry the sink carefully with a soft, lint-free cloth. It’s essential to dry the sink completely before moving on to the next step. Water droplets left on the sink can dilute the flour and make the process less effective.
3. Sprinkle Flour
Once the sink is clean and dry, it’s time to apply the flour. You’ll need about 1/4 cup of flour for a standard-sized sink. Using a measuring cup or just a regular spoon, evenly sprinkle the flour over the entire surface of the sink. Be sure to cover all areas, including the sides and the faucet area. You can even sprinkle a little extra flour in areas that tend to have more grime buildup, such as the drain or the corners of the sink.
Flour can be a little messy, so it’s best to do this step carefully. Avoid using too much flour; a thin layer is sufficient to work its magic. Too much flour can result in unnecessary cleanup later.
4. Buff the Sink
Now, the fun part begins. Grab a soft cloth or microfiber towel (something that won’t leave lint behind) and start buffing the flour into the sink. Use a circular motion, applying gentle pressure to polish the stainless steel. Work in small sections at a time to ensure that the flour is spread evenly across the entire surface.
Buffing with flour is similar to polishing furniture with a soft cloth—just be sure to go over every area, including the faucet, drain, and the sides of the sink. As you buff, you’ll begin to notice the grime and stains disappearing, leaving behind a shiny, gleaming surface. The flour will help loosen any residue while leaving behind a smooth, polished finish.
5. Wipe Off Excess Flour
Once you’ve thoroughly buffed the entire sink and it’s looking shiny and clean, the next step is to remove any excess flour. Using a clean, dry cloth, wipe away any remaining flour from the surface. Be sure to get into all the nooks and crannies, such as around the faucet, where flour might have accumulated. Wipe until the sink is completely free of any excess flour residue.
At this point, your sink should look significantly shinier, with a gleaming, reflective surface that rivals a brand-new stainless steel sink. The final result will be an impressive, streak-free finish that will make your kitchen look polished and fresh.
Additional Tips for Maintaining a Shiny Sink
While the flour trick is a great way to restore the shine to your stainless steel sink, regular care is important to maintain that shine. Here are some additional tips to help keep your sink sparkling:
- Use a Mild Dish Soap: When washing your sink, use a mild dish soap to prevent the buildup of grease and grime. Avoid using harsh cleaners with abrasives, as they can scratch the surface of your sink.
- Dry the Sink After Each Use: After using the sink, dry it with a soft towel to prevent water spots and mineral buildup. This is especially important if you have hard water, which can leave behind unsightly stains.
- Avoid Harsh Scrubbers: While stainless steel is durable, it’s still important to use soft cleaning materials. Avoid using steel wool or abrasive scrub brushes, as these can leave permanent scratches on the surface. Always opt for a microfiber cloth or a soft sponge.
- Buff Regularly: To keep your sink looking its best, consider buffing it with flour every couple of weeks or as needed. This will help maintain its shiny appearance and prevent buildup from accumulating over time.
- Clean Drains and Faucets: Don’t forget to clean around the drain and faucet. These areas tend to accumulate grime and water deposits, so make sure to give them special attention during your cleaning routine.
Benefits of Using Flour for Cleaning Stainless Steel
The use of flour in cleaning your stainless steel sink comes with numerous benefits. Here’s why it’s an excellent choice for maintaining your kitchen:
- Gentle Abrasive: Flour’s fine texture acts as a gentle abrasive, allowing you to clean your sink without scratching or damaging the surface.
- Non-Toxic: Unlike some commercial cleaners that contain harsh chemicals, flour is a completely natural and non-toxic substance, making it safe for your home and the environment.
- Budget-Friendly: Flour is incredibly affordable, and you probably already have some in your pantry. It’s a cost-effective solution compared to expensive cleaning products or specialty cleaners designed for stainless steel.
- Versatile: The flour trick doesn’t just work for sinks; you can use it to clean other stainless steel surfaces around your home, such as appliances, kitchen countertops, and even stainless steel cookware. It’s a multi-purpose cleaner that can tackle various cleaning challenges.
- Easy to Use: Flour is easy to handle and doesn’t require any complicated preparation or special tools. The entire process— from sprinkling to buffing —is quick and simple.
Conclusion
A shiny stainless steel sink can transform the look of your kitchen, adding a sleek and polished appearance. Using flour to buff your sink is a simple, natural, and effective way to bring back its shine without the need for harsh chemicals. This easy-to-follow method, combined with regular care, can help you maintain a gleaming, spotless sink that will impress anyone who enters your kitchen.
Next time you find your sink looking dull or covered in water spots, reach for the flour in your pantry. With just a few minutes of effort, you’ll restore that fresh, reflective surface, all while using ingredients that are safe for you and the environment. It’s an easy, budget-friendly, and sustainable cleaning solution that will leave your kitchen looking fabulous!


