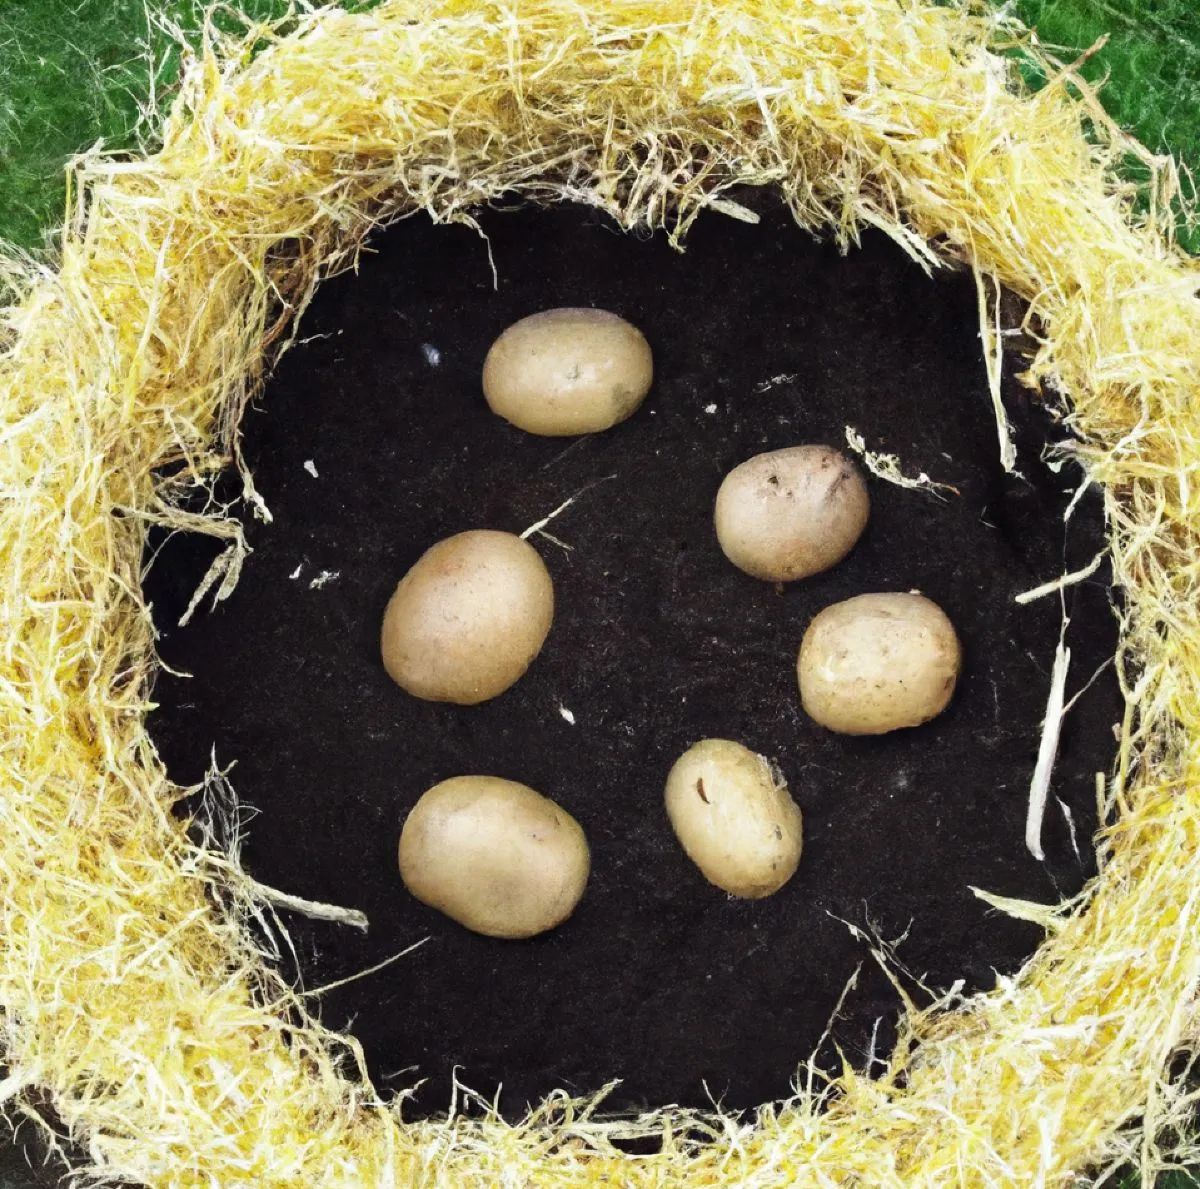
Line the Tower with Straw
Start by lining the bottom of the tower with a layer of straw for aeration and drainage. Next, add about a foot of nutrient-rich soil on top of the straw. Opt for high-quality soil or enhance it with compost to ensure the potatoes receive essential nutrients.
Plant Seed Potatoes
Place seed potatoes—small whole potatoes or pieces with at least two eyes—about three to four inches from the inner edge of the tower. Space them approximately six inches apart to give each plant enough room to grow without crowding.
Fill as You Go
As the potato plants grow, continue to add straw and soil to the tower as needed, ensuring there’s still enough space for the plants to thrive. Add layers as the stems extend and potatoes form along the buried portions.
Water Properly
Consistent watering is crucial for a successful potato tower. Keep the soil evenly moist, but be careful not to overwater, as excessive moisture can lead to rot. Applying a layer of mulch on top can help retain moisture and suppress weeds, reducing the need for frequent watering.
Harvest Your Tower
After about three months, the potato plants should be ready for harvest. Start by digging from the bottom of the tower. Gently remove the straw and soil to uncover the potatoes, taking care not to damage them during the harvesting process.
Successive Planting for Year-Round Harvests
To ensure a continuous supply of fresh potatoes, practice succession planting. Start a potato tower in spring for a summer harvest, another in summer for fall, and a final tower in late summer for an early winter crop. This strategic planting approach will allow you to enjoy homegrown potatoes throughout the growing season.
By following this simple method, you can cultivate a reliable supply of potatoes right at home, reducing your reliance on store-bought options and enjoying fresh produce year-round.


